More Flexible Date Field Settings Are Now Available
We’ve improved the Date Field in WaiverForever to support more flexible default dates and date selection ranges.
What’s New

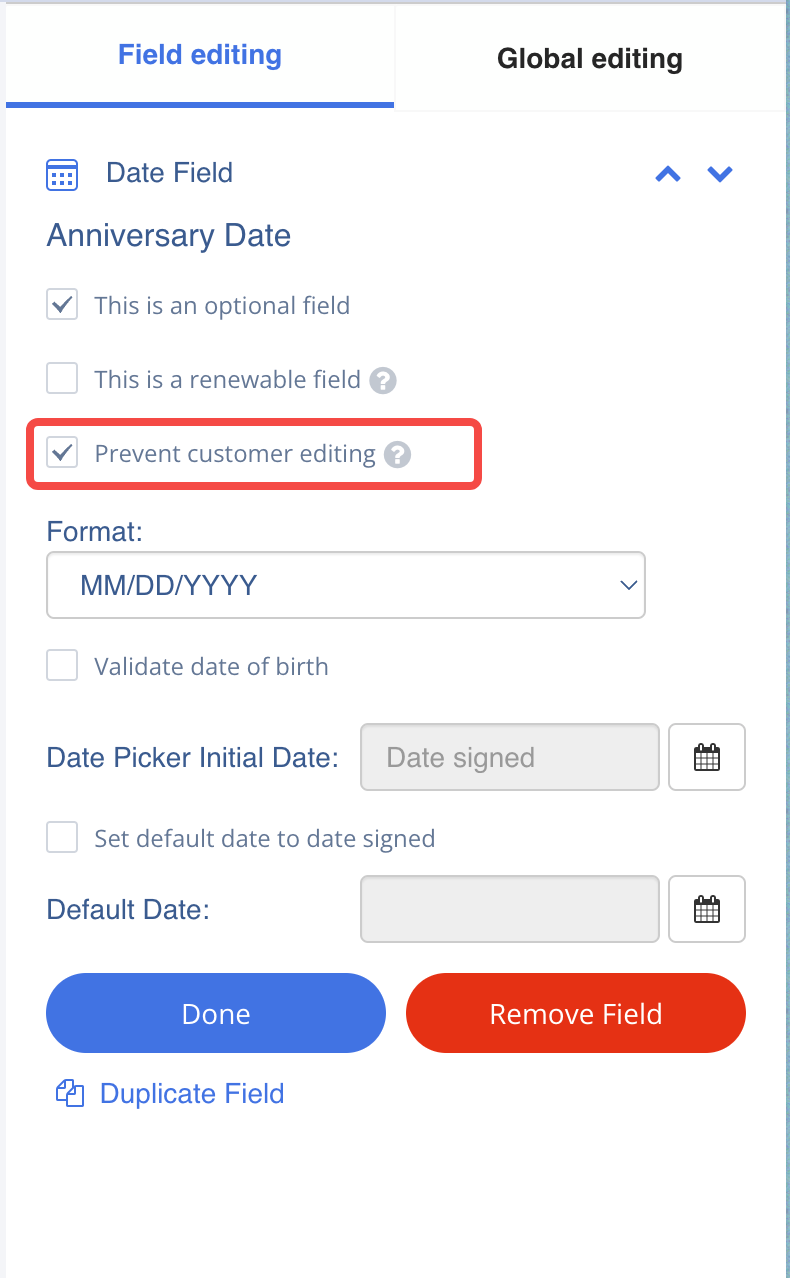
• Flexible Default Date
Set a Date Field to automatically default to a specific date, the current signing date, a past date, or a future date.
• Rolling Past or Future Dates
Need the default date to be 180 days before signing, or 30 days after signing? You can now set that easily.
• Start Date Limits
Control the earliest date a signer can select. For example, only allow dates from the past 180 days.
• End Date Limits
Control the latest date a signer can select. For example, prevent users from selecting dates after today, or only allow dates up to 30 days in the future.
• Optional Date Range Rules
You can use only a Start Date, only an End Date, or both, depending on your form’s needs.
Why It Matters
This update makes Date Fields more useful for many real-world scenarios, such as birth dates, appointment dates, membership dates, expiration dates, medical intake forms, rental periods, event registrations, and more.
You can find these new options in the Date Field settings inside the form builder.
Best Regards,
The WaiverForever Team